This was one of original brainstorm layouts I was trying before deciding to build a new outfeed tray. During these brainstorms, I will clamp scrap pieces together and make pieces out of cardboard. This is all to get a good mental picture of how things will work. In this particular instance, nothing worked. It all looked too cheesy. So I started over.
My main issue was trying to apply precision to a non-precision slide. The original stop used a pipe and a screw clamp. It worked no matter how many chips or how much coolant gunk got on it. This lives in a very dirty spot so wanted to keep the same robustness. I, however, wanted to tighten it up some and make it easy to connect to the precision of the DRO.

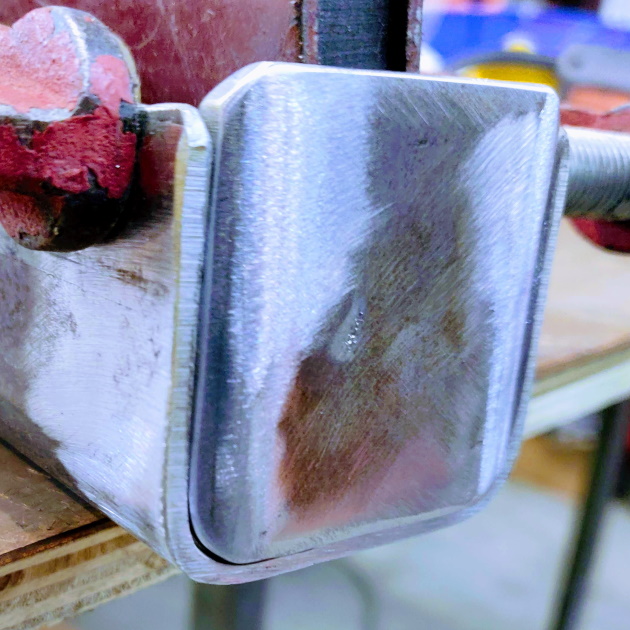
I decided to go with a piece of Unistrut for the slide mechanism. Mainly because I had a small section of Unistrut, but it also gives me a nice base if I want to make a change.

I played around with springs for the coupling mechanism between the stop slider and DRO to eliminate backlash. These were complicated. I ended up with a press fit between a stainless steel shaft and a delrin fork. This provides a nice bearing surface for the pin to slide in and out, and up and down. This keeps any inherent waviness of the Unistrut from putting unwanted forces on the DRO. The delrin fork applies enough pre-load squeeze to eliminate any backlash. If I did this again, I would just use a dowel pin for the shaft.


The first thing I tried it on is the ends for the cover. I plasma cut the bottom off a tube and used that for end caps. Getting measurements this close took a bit of skill. You would have to understand datums and keep the stop against those datums while changing positions. It you didn't, it could end up +/-.04".
The issue was that the Unistrut channel was way out of wack. The inside of the channel could not be a tight tolerance otherwise it would bind. This affected the parallelism of the stop to the blade. It might have helped if my piece of Unistrut had not been physically abused in its former life. I was probably the cause of the abuse so I cannot complain.

I just added a line to line delrin block. This drives everything to one side of the rail. And problem solved! It is very fast to measure now!!
Thanks for looking! There are more pics, CAD, and CAM here...
If you need some help on your project, let us know.