
The first thing to do is to lay out the enclosure. You don't want to cut the holes in the wrong side!

In this case, I use a machined drill fixture made from some scrap. This particular fixture has multiple cut out patterns on it.
The fixture has all through holes and the tangent holes for the 4 corners of the rectangle cutouts. I mark my first hole, drill it, then attach the fixture using a cleco. I align for the angle, drill a second hole, and cleco. Now the fixture position and alignment is set. I will do two more holes and clecos to prevent any sheet metal sag.
Now I can confidently do the rest of the holes. This saves a lot of time with the layout and eliminates the drill walking on start.

Then I remove the fixture, and draw my tangent lines for my rectangular cut out. I tap the holes first while the rigidity is still there. Then I grind the rectangle.
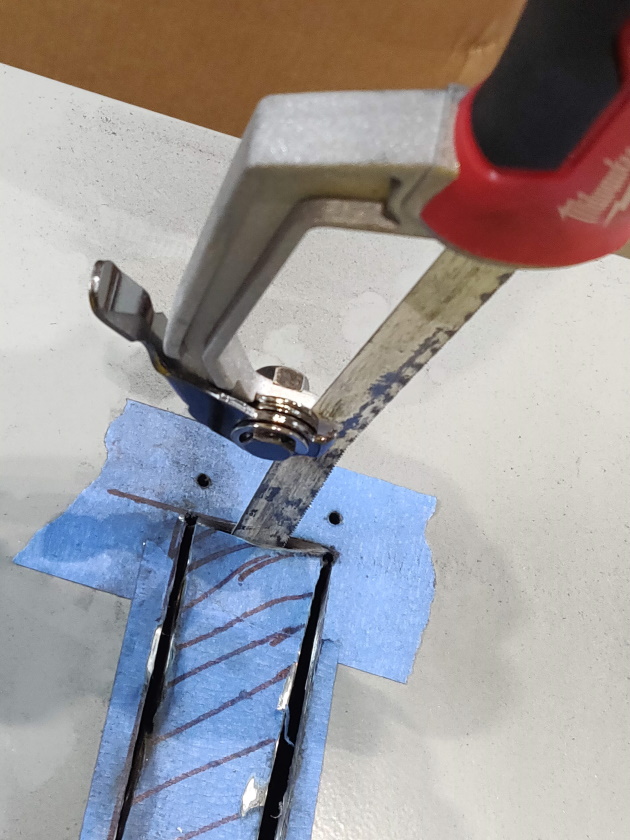
I finish the corners of the rectangle with a hacksaw.

The finished product needs to be cleaned up and deburred with a file. This takes the most time. It is never going to be as clean and consistent as a CNC laser cut.

Luckily the installed device hides it!
If you need some design and build help on your project, let us know!